6. Group Classes
The Group Classes module is designed for educators who want to host sessions for multiple students simultaneously. This guide covers the full lifecycle of a group class, from initial configuration to final scheduling.
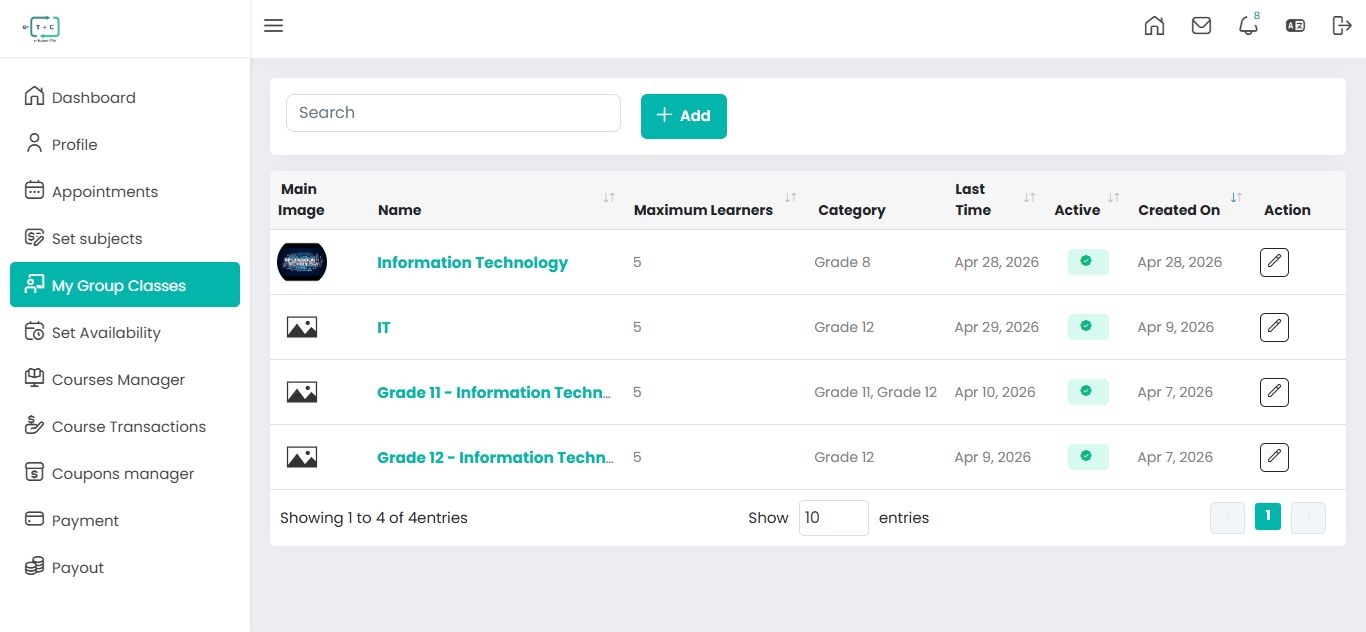
6.1 Creating a Group Class
Navigate to My Group Classes > Create new group class in your sidebar dashboard.
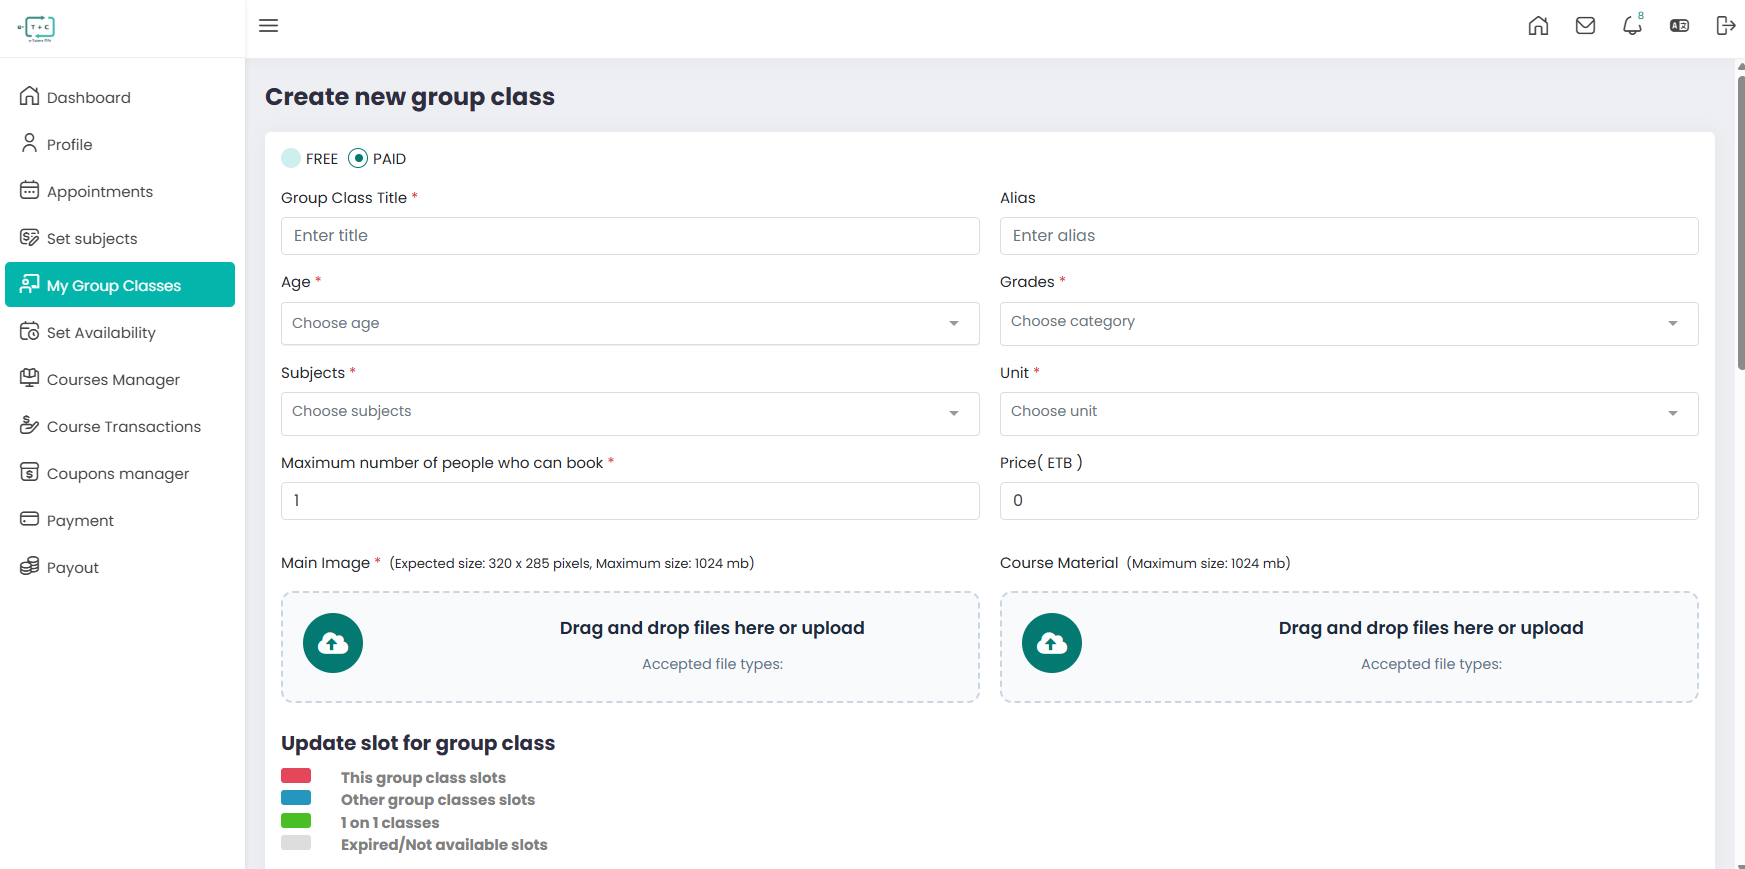
6.1.1. Basic Configuration
Configure the primary settings of your class to ensure it reaches the right audience.
- Payment Type: Toggle between FREE or PAID.
- Note: For Paid classes, ensure your payout details are configured in the 'Payout' tab.
- Group Class Title: A descriptive, catchy name for your session.
- Alias: A URL-friendly short name (e.g.,
intro-to-python-101). - Demographics:
- Age: Select the specific age range of students.
- Grades: Categorize by educational level.
- Academic Focus:
- Subjects: The primary field of study.
- Unit: The specific chapter or topic being covered.
6.1.2. Capacity and Pricing
- Maximum Bookings: Set the limit for how many students can join. The system will automatically close bookings once this number is reached.
- Price (ETB): If the class is PAID, enter the amount in Ethiopian Birr. The system handles the transaction and reflects it in your Course Transactions.
6.1.3. Media & Resources
Provide visual and educational context for your class.
- Main Image: Upload a high-quality thumbnail.
- Recommended size: 320 x 285 pixels.
- Course Material: Upload PDFs, DOCs, or PPTs that students can download once they book.
- File limit: 1024 MB.
6.2. Scheduling (Update Slot)
The scheduling interface allows you to lock in specific times for your group session.
Calendar Interaction
- Selecting Slots: Click and drag on the calendar grid to highlight the time blocks for your class.
- Slot Legend:
6.2.1. Slot Legend
When viewing your calendar, slots are color-coded as follows:
- 🔴 Red — Paid 1-on-1 sessions
- 🔵 Blue — Group classes
- 🟢 Green — Free sessions
- ⚪ Grey — Expired or unavailable slots
- Navigation: Use the Week/Day toggle for better precision, and the Today button to reset your view.
6.2.2. Class Description
A comprehensive description increases your booking rate. Use the integrated Rich Text Editor at the bottom of the form to:
- Detail the Curriculum: What will students learn?
- Requirements: Are there prerequisites for this class?
- Formatting: Use Headers (H1, H2), Bold, and Bullet points to make the information digestible.
6.2.3. Finalizing and Behavior
Once you click the Save button:
- Visibility: The class becomes visible to students in the marketplace.
- Booking Window: Students can book up until 30 minutes before the session starts.
- Virtual Room: A Zoom link is automatically generated and shared with all booked participants.
- Auto-Timing: The classroom will open and close strictly according to the slots you defined in the calendar.
Always double-check your Set Availability tab to ensure group class slots do not overlap with your private 1-on-1 sessions.